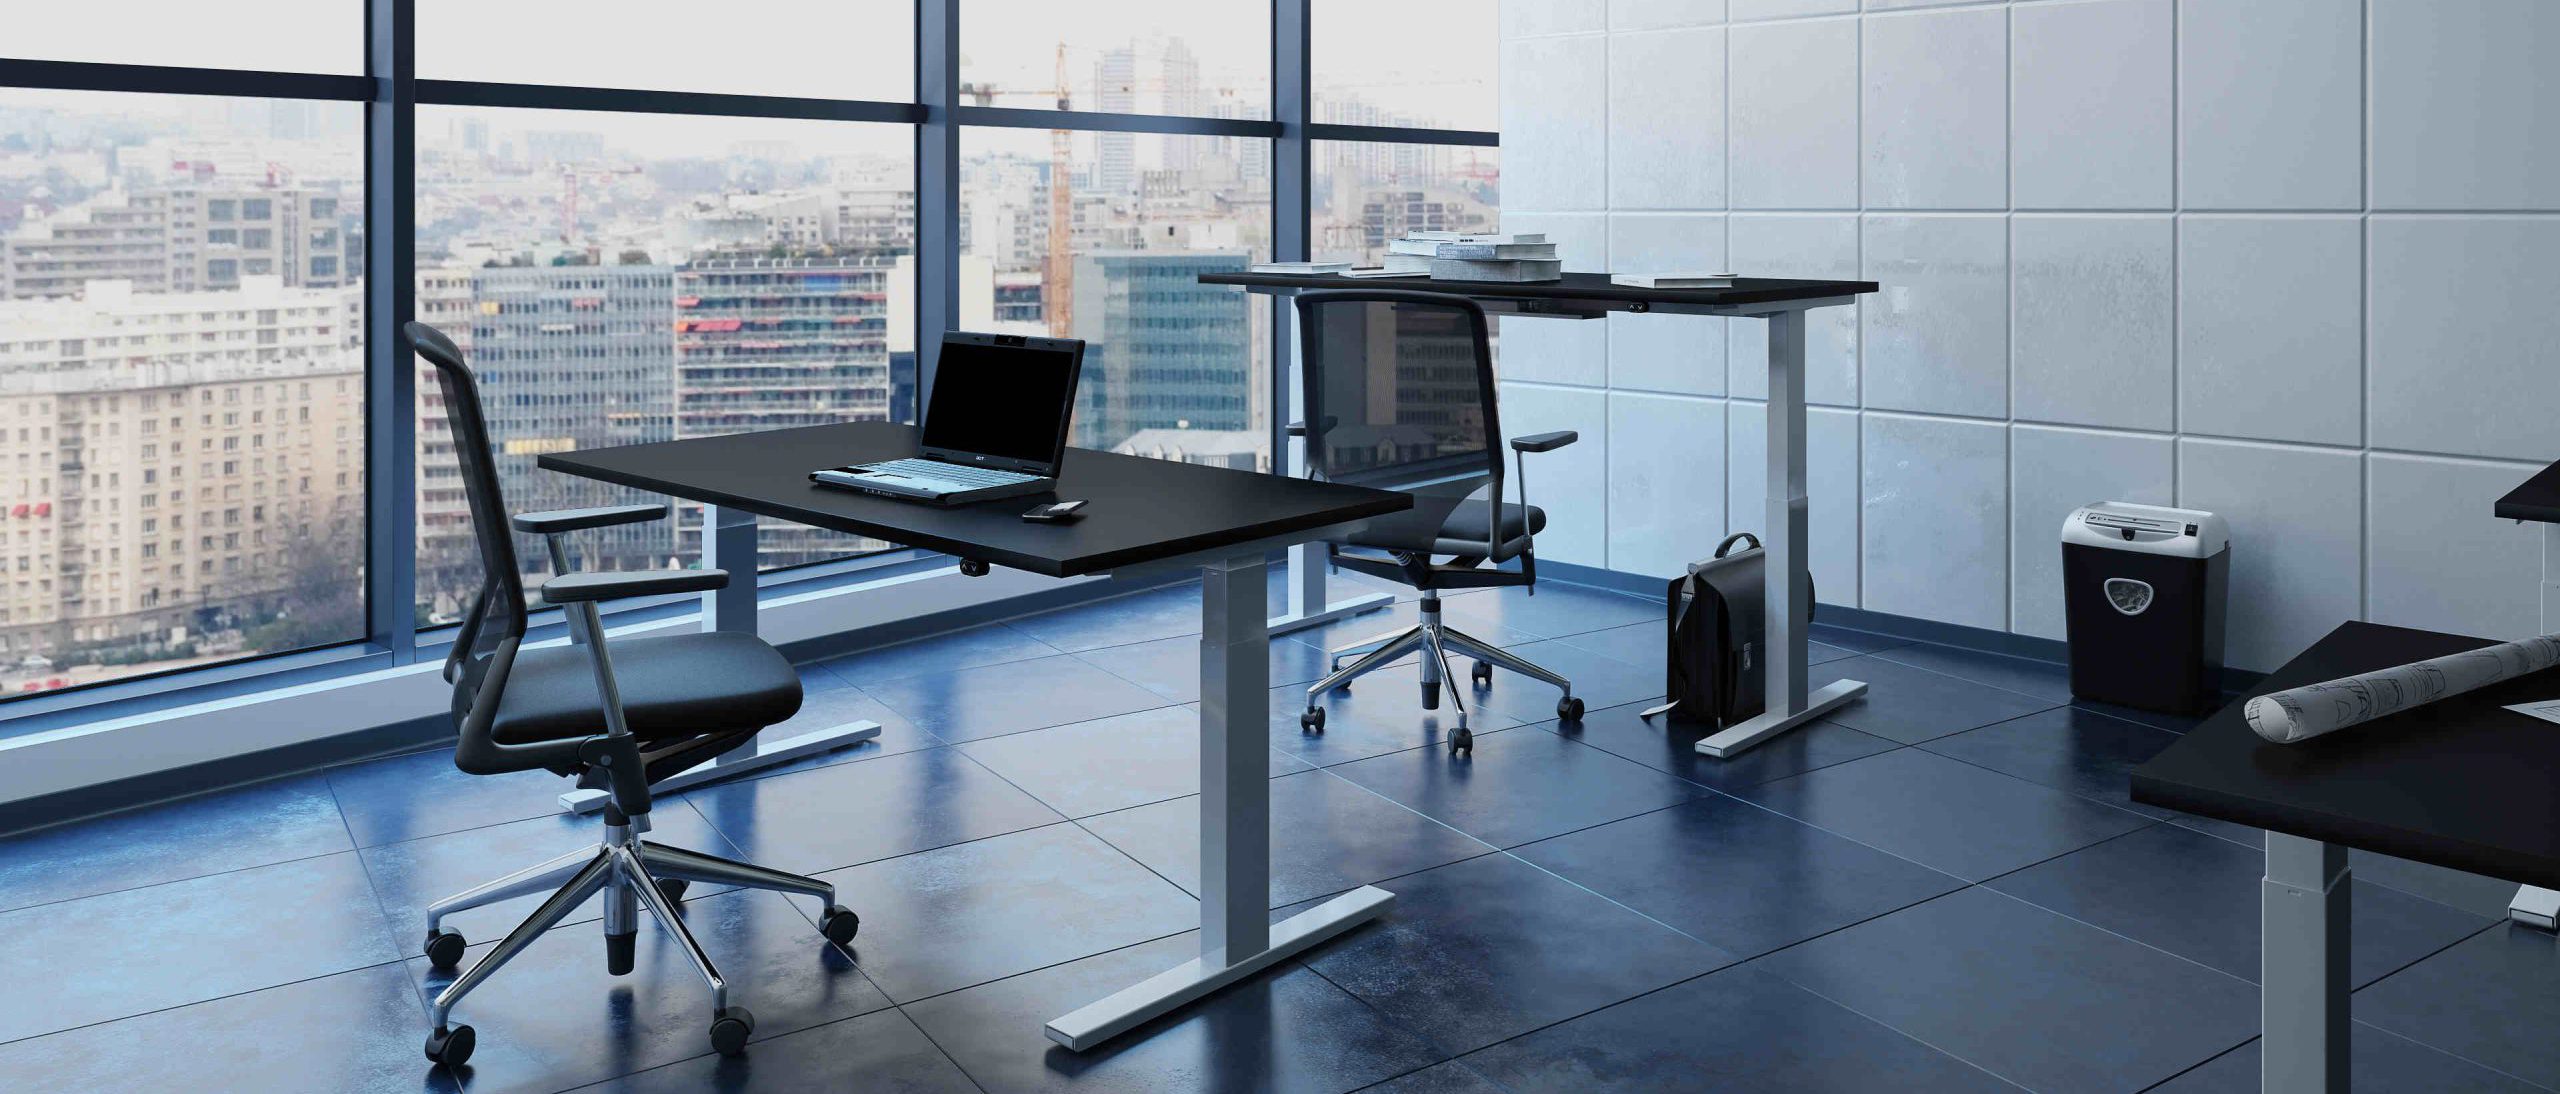
Gas sprung, electronic or manual? Choosing a height adjustable desk
Kitchen organisation hacks
Electrical Safety in the office
Office design to future proof your office
Hole saw for hire service
Harness that ‘back to school’ feeling when you’re back to work with these office hacks
Choosing the kitchen storage system for your space
Novel desk legs and why you need them
The real reason extendable tables are more popular than ever
The popular extending table that’s perfect at any height
How to assemble an X-Frame Series or K-Frame Series desk
Easy instructions on assembling a Box15 K-Series or X-Series desk
Our range of K-Series or X-Series desks is yet another way we’re helping our customers to reduce their contribution to landfill and be more efficient with their office budget spend.
Our desk frames can be easily extended so, as your team grows, you can expand your desk space without buying a whole new system. The K-Series and X-Series desks are perfect for creating a bank of desks for collaboration and call centre spaces. With a sliding central beam system, desks can be easily lengthened for more workspaces, or extended in width to allow back-to-back desk working when required.
This versatility provides X-Series desk and K-Series desk users improved longevity and versatility, reducing the need to change desks every time your team or workspace changes.
See just how versatile the X-Series and K-Series desks can be:
How to build an X-Series desk or K-Series desk
- Identify the sides of the desk and the leg frame components. Slot together the two sides of the leg frame, remembering to add the internal support bar in between.
- Then slot together the second set of legs in the same way.
- Connect the central bar onto the internal support bar by sliding it onto the bar support that sits in the middle of each assembled set of legs. Do not tighten the grub screw at this stage.
- With the help of another person, lay the desktop on the floor and turn the desk frame upside down on top of the desk, so you’re now looking down at the underside of the desk.
- Do not push the connection blade on the configured table legs fully into the beam. Instead line up the templated fixing holes with the mounting plates on the underside of the frame. There should be a small amount of space where you can still see the base of the central support bar before the actual central beam starts. On the X2 and X3 units, the legs will be flush with the edge of the tabletop once all screw holes are fully lined up.
- Once the mounting plates and the legs are lined up you can then secure the frame to the tabletop.
- Once this has been done, the last step is to tighten the grub on the central beam before turning the desk the right way up.
Or you can use our desk builder to configure your X-Series office desk here.
You’ll find the instructions for assembling our X-Series desks and our K-Series desks in the leg box, but if you need any further help or advice, call us on 01295 565001 or chat with our friendly advisors online.
Recent blogs
-
Merry Christmas from BOX15
-
Gas sprung, electronic or manual? Choosing a height adjustable desk
-
Kitchen organisation hacks
-
Electrical Safety in the office
-
Office design to future proof your office
-
Hole saw for hire service
-
Harness that ‘back to school’ feeling when you’re back to work with these office hacks
-
Choosing the kitchen storage system for your space
-
Novel desk legs and why you need them
-
The real reason extendable tables are more popular than ever


